How to use routage.ircf.fr
SMTP settings of the mass mailing server
- Inform your server address as routage.ircf.fr
- The ports are 465 for the SSL security or 587 for the TLS security
- If you want to send mails with the address of your linking, you have to permit this address on the web platform routage.ircf.fr
Add a sender
If you want to use routage.ircf.fr, you have to grant the access to the sender e-mail. To make that happen:
- Go into the tab “Sender”
- Click on “Add”
- Write the sender’s adress, check the box “Active”, choose the instance, either ad-pool if you are sending newsletters, transactional-pool for the other kind of mails or your custom instance if you have one.
- ” Save “
- If you encounter the following errors :
- Your domain name should contain a DKIM save : enter in the DNS log-in address a DKIM save that IRCF have to send to you
- The SPF save of your domain has to include the server routage.ircf.fr : add in the DNS SPF save of the sender domain the server routage.ircf.fr
Unban a receiver
If a receiver had been banned during a former mass mailing :
- Go in the tab “Banned”
- You can search for the address
- Click on the locker on the right to unban an address or check the the box on the left, and click on “Unban”, if you wish to unban all the address previously banned, it take place on the bottom checkbox of the page.
Track your mails
On the home page, you are able to see the list of your mails with different data, you can click on a row to see the details.
In the “Statistics” tab you can see your mails with their current status, through a temporal graph.
The status you can stumble upon are :
- Connected : your e-mail application contacted the outgoing mail server
- Anti-spam : your e-mail just got analyzed by our anti-spam
- Ready to send : the e-mail is going into the waiting queue
- Waiting : the e-mail is in the waiting queue
- Sent : the e-mail got successfully sent
- Delayed : the e-mail couldn’t be sent, another attempt will be done later
- Rejected : the e-mail couldn’t get sent, no other attempt will be made. Check the details to understand the reason
- Banned : the e-mail couldn’t get sent, no other attempt will be made. Check the details to understand the reason. No other attempt will be done toward this address for one year.
How to use newsletter.ircf.fr :
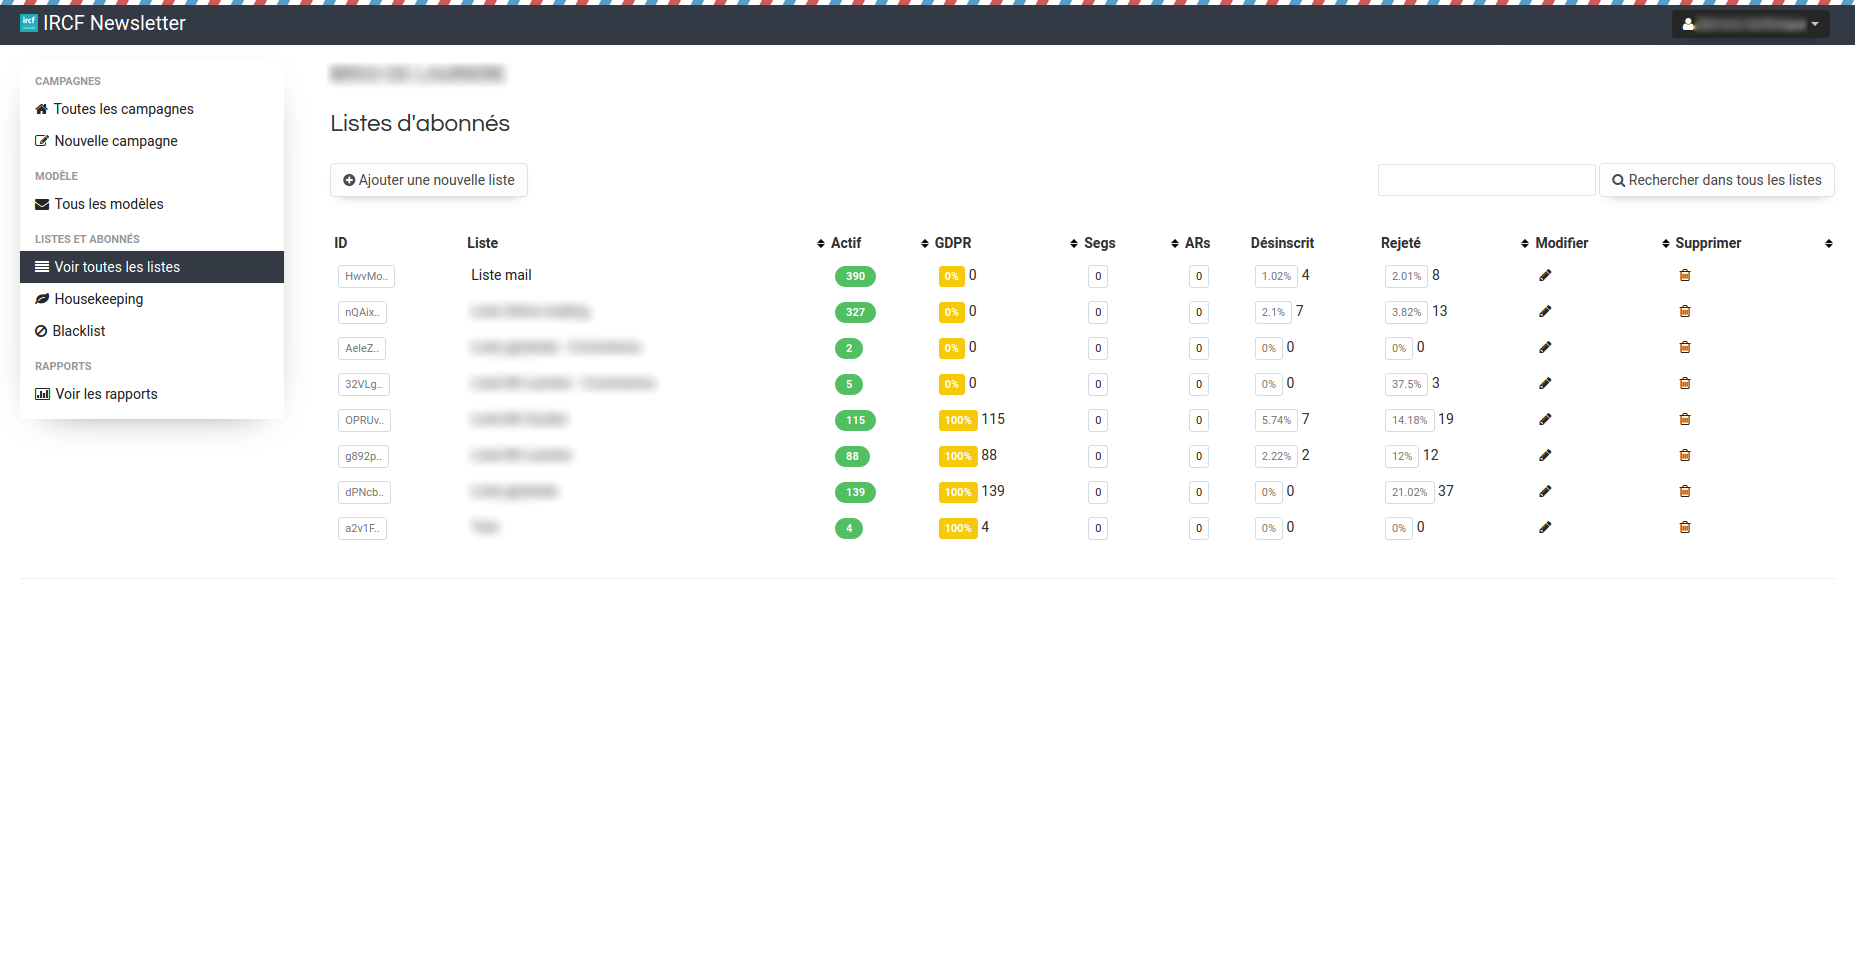
Create a sending list
- Log in newsletter.ircf.fr with the username and password that we granted
- Click on “See all the list” in the left menu
- Click on “Add a new list”
- Write the name of the list on the menu that just opened
- Click on “Add subscribers”
- Import your list in CSV, a guide and a example files will be supplied to ensure that you have a file with an appropriate format.
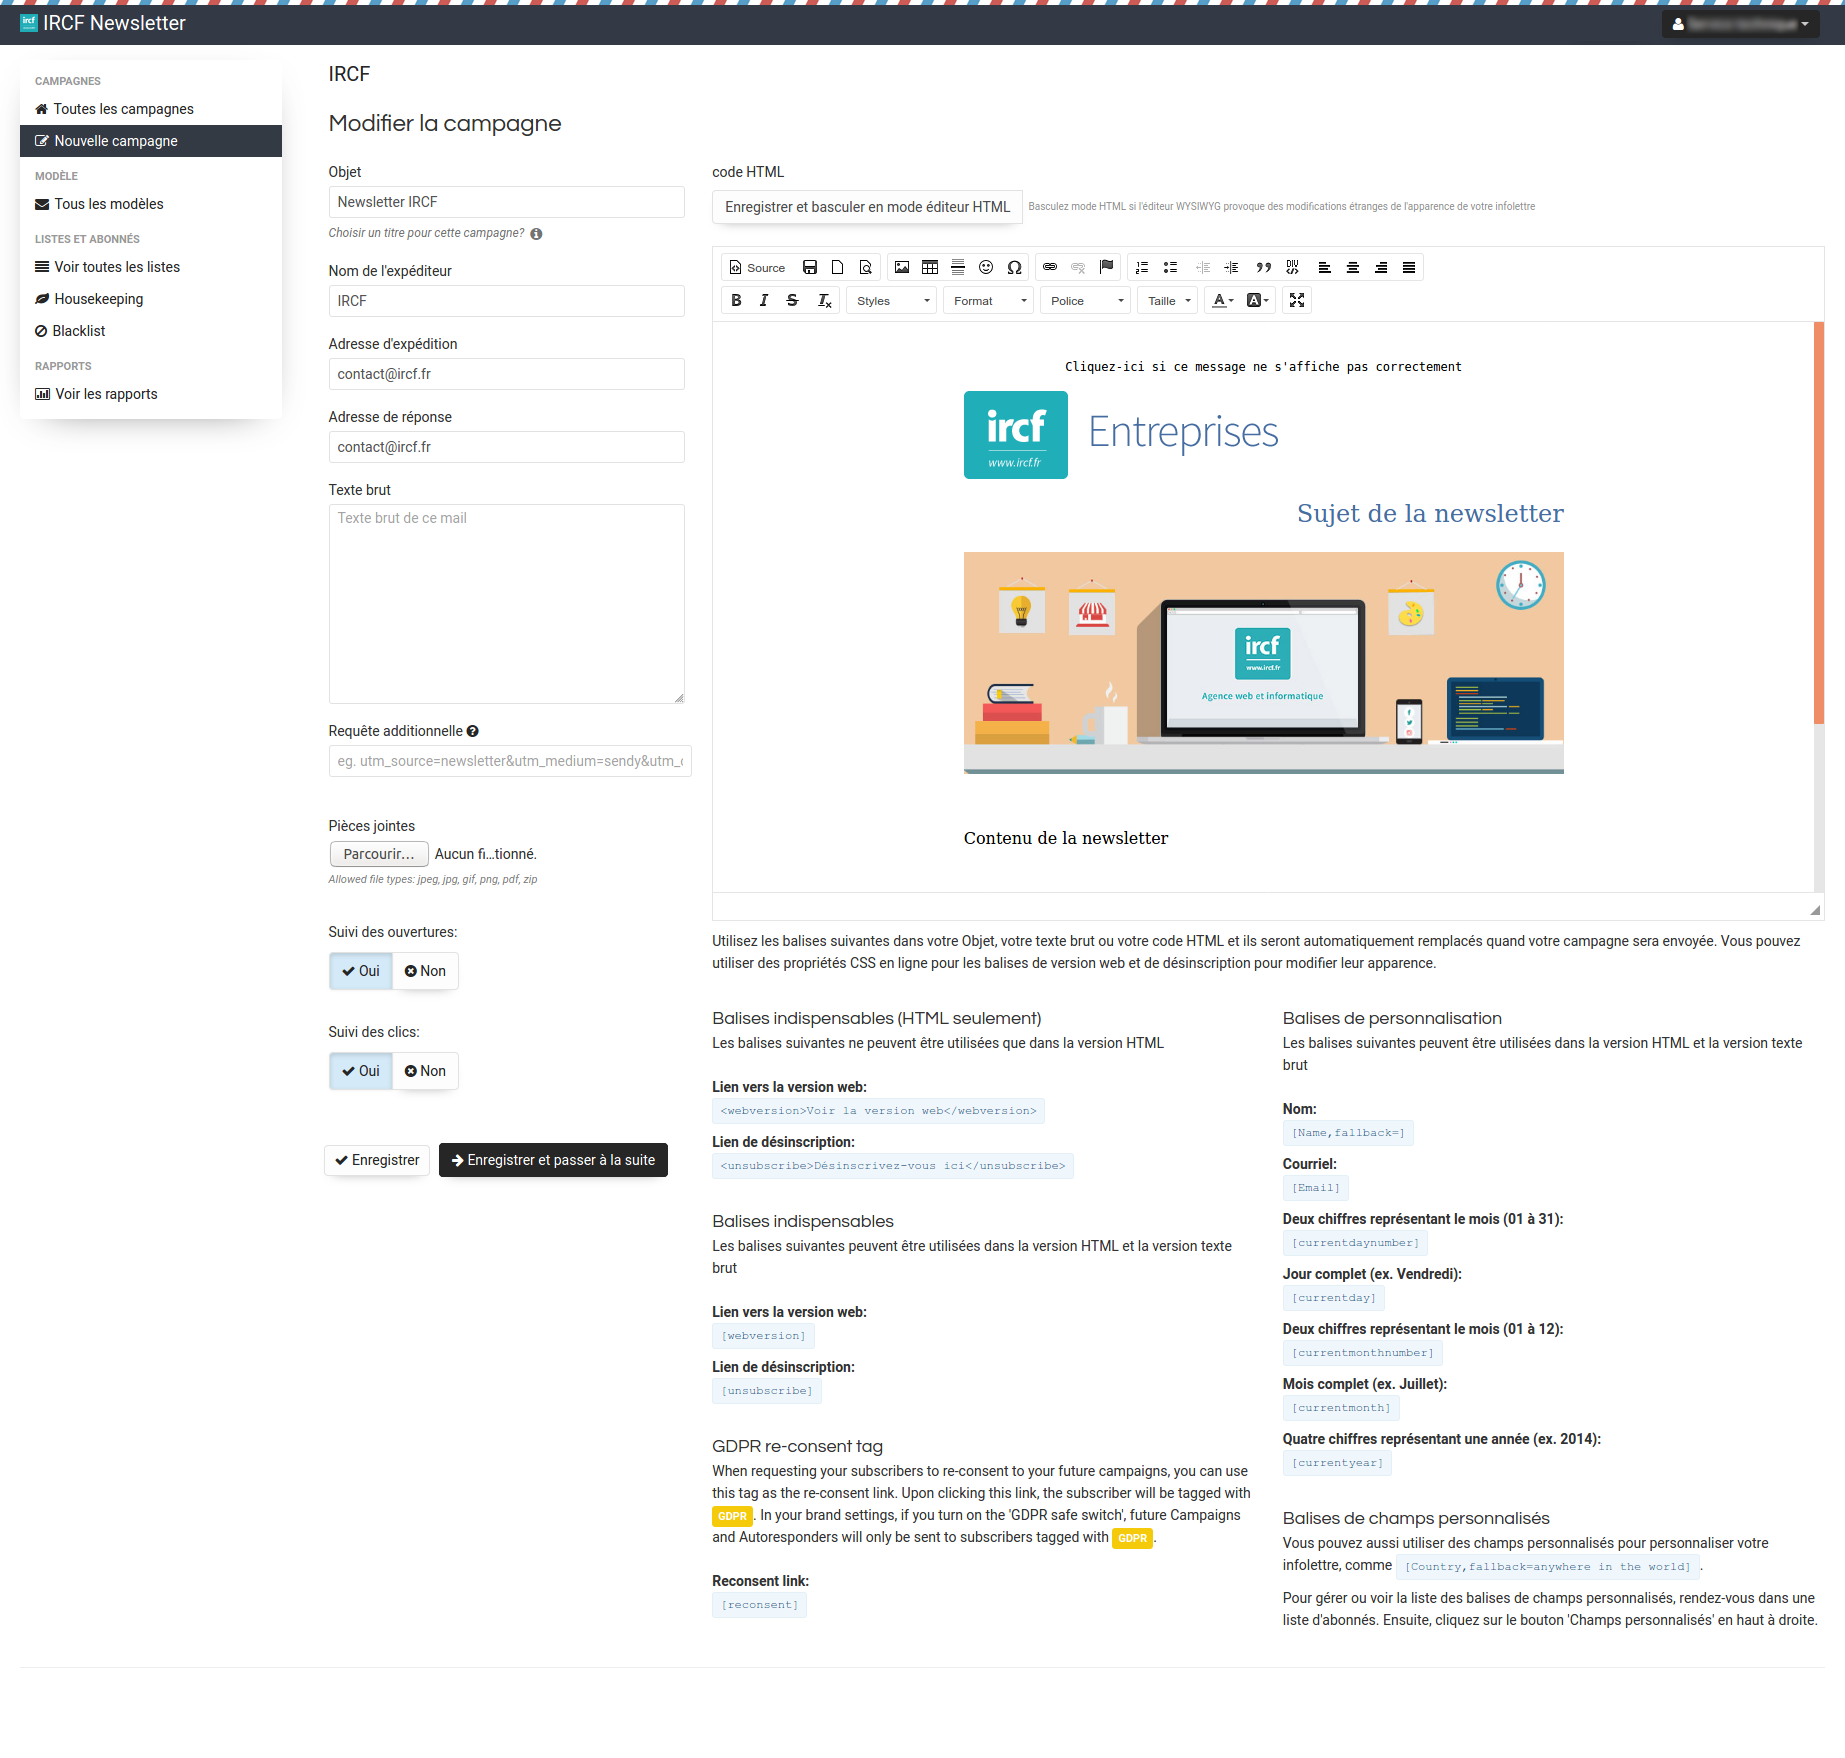
Create a newsletter
- Log-in newsletter.ircf.fr with the username and password that we granted
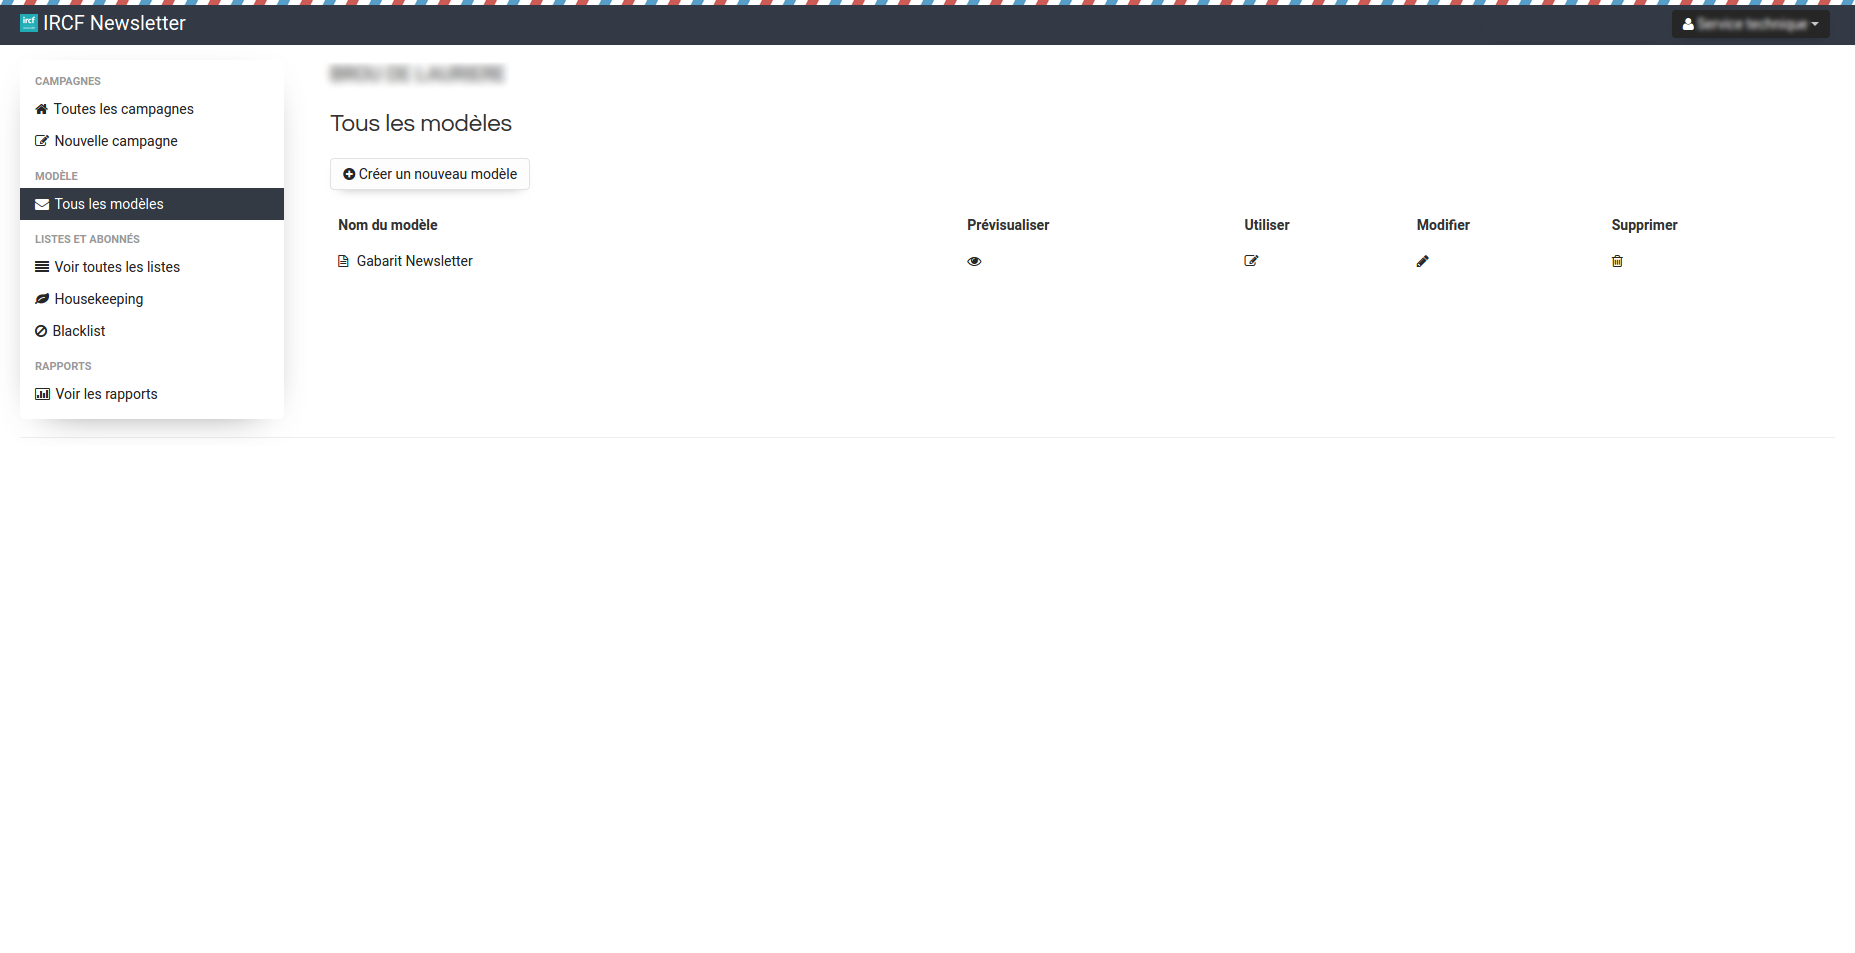
- Click on “New campaign” in the left menu, you can choose a newsletter template.
- Write the information about your newsletter like the subject, the sender’s name and his e-mail address.
- Design your newsletter while using the WYSIWYG editor on the right
- If you wish to save your newsletter as a template, to use it again later, check “Yes” below “Save this email as template”
- Click on “Save and pursue” at the bottom of the page
- Test the sending of your newsletter, on the upper left, toward another of your e-mail address while using mail-tester.com, that will allow you to obtain a report on the quality of your newsletter as well as his deliverability grade.
- Choose one or multiple lists for your campaign
- Send your newsletter
Compose your newsletter :
1. Structure and add elements into your newsletter
The newsletters are mainly combined of HTML tags such as :
- table : table
- tr : table row
- td : table data
- img : image
- a : link
- h1, h2, h3 : title
- p : paragraph
- br : line break
- span : text area
The HTML tags are interlocked in a hierarchy (ex : table > tr > td > img). When you select an element in your newsletter, the hierarchy of said element is brought to you on the editor bottom right. (ex : table > tr > td > p > span). You can click on a tag to go back up into the hierarchy (ex : i click on the tag”tr” to select the table row).
Make sure you always select the right tag depending on what you wish to do :
- Copy a table : tag table
- Change a cell : tag td
- Delete a row : tag tr
2. Contextual menu / right click
The right click open a contextual menu (corresponding to the element you clicked on).
This menu grant access to the element settings, for example :
- img : Image properties (adjust the width and height of the picture)
- a : Edit link (change the URL link), Unlink (delete the link)
- td : Cell (add a cell, delete a cell, divide a cell vertically, horizontally, etc.)
- tr : Row (add a row, delete a row, etc.)
- table : Table properties (border, margin, background color)
3. Keyboard shortcuts
It is often faster/easier to use the keyboard shortcuts in the editor, those shortcuts are the same as in Word or Excel. The most common shortcuts are :
- CTRL+X = Cut
- CTRL+C = Copy
- CTRL+V = Paste
- CTRL+Z = Undo
- CTRL+Y = Redo
- Suppr = Delete
- Entrée = Create a new paragraph
- Shift+Entrée = Line break
4. Saves and tests
Remember to save your work regularly.
Test your newsletter on multiple e-mail applications (Orange, Gmail, Yahoo, Outlook, Thunderbird, etc.), on mail-tester.com (at least once) and on phone.